To access, select the Clerks menu option in Terminal Settings. Used to configure Clerks/Staff settings in Touch.
Sections ▲ ▼
Modes ▲ ▼
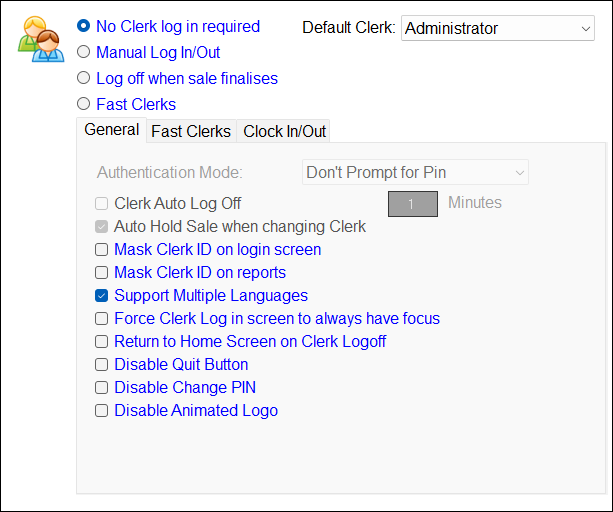
- No Clerk log in required - Select to remove the requirement for Clerks/Staff to login/off in Touch. Once selected the following setting will be enabled:
- Default Clerk - Displays/Set the default Clerk/Staff Member that will be used as the default Clerk in all Touch transactions.
- Manual Log In/Out - This is the default mode. When selected, Clerks/Staff are required to manually login/off in Touch. This is done by selecting the Clerks menu option in the Tool bar. Once logged in the Clerk/Staff Member's name will appear on the option and will remain there until such time as another Clerk/Staff Member logs In. Only one Clerk/Staff Member at any one time can be logged in Touch. Refer HERE for more information.
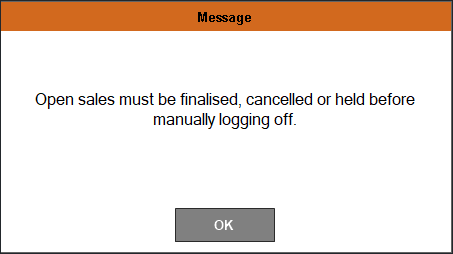
- Log off when sale finalises - Select to open the Login screen after every order/sale has been finalised. Refer HERE for more information. Selecting this mode will ensure the Login screen is displayed after every order/sale has been finalised. This forces Clerks/Staff to login before the next order/sale. The name of the Clerk/Staff Member currently logged In will be displayed on the Clerks menu option in the Tool bar. If no name is being displayed on this option and an order/sale is made, then the following message will be displayed:
Notes...
When Floor Plans are displayed, and there is a requirement for the Login screen to be hidden (that is, not overlaid by the Floor Plan), and thus ensure all Tables are visible, then refer HERE for more information.
If NO Clerk/Staff name is being displayed on the Clerks menu option in the Tool bar and an order/sale is placed, then then a prompt will be displayed. Refer HERE for more information.
- Fast Clerks - Select to display the Fast Clerks Login screen, allowing staff to login/off quickly and easily. Generally used in busy locations. For example, in a bar. Refer HERE for information using the Fast Clerk Keyboard option and HERE for using the Fast Clerk Layout option. Refer to the Fast Clerks tab to configure Fast Clerks further.
Tabs ▲ ▼
General Tab ▲ ▼

Depending on the mode selected above some of the following options will be enabled/disabled.
- Authentication Mode - Select from the drop-down list one of the following:
- Don't Prompt for Pin - Select to ensure prompting for the entry of a Clerk/Staff Member's PIN is NOT enabled.
Notes ...
When using Wristbands in conjunction with this option, then authorisation to access a restricted POS Key will not be required.
- Authentication Mode continued ...
- Prompt for Pin (Manual Login) - Clerk/Staff Member is prompted for a PIN when logging in manually (Touching the screen) - Excludes Clerk/Staff Member logging in using RF Wrist Band Reader.
- Prompt for Pin (All Logins) - Clerk/Staff Member will be prompted for a PIN in all situations.
- Prompt on Initial Login - Clerk/Staff Member will be asked for the PIN when they initially assign an unassigned tile to a Clerk/Staff Member via the Fast Clerks Login screen. Once added, the entry of a PIN will no longer be required.
- Clerk Auto Log Off - Select to ensure the Clerk/Staff Member logged in is automatically logged off after the set number of X Minutes in inactivity has elapsed in Touch. Generally this is used to prevent Clerks/Staff from leaving Tables open on a Touch/Waiter terminal and hence would not be accessible from another Touch terminal. When logged off, if an order/sale is still in progress, then it will be automatically held. When the same Clerk/Staff Member attempts to login again, then a prompt will be displayed. Refer HERE for more information.
- X Minutes - Displays/Enter the time in minutes of inactivity that needs to elapse before Clerk Auto Log Off option takes effect.
- Auto Hold Sale when changing Clerk:
- Select to ensure that when a Clerk/Staff Member logs off in the middle of the process of taking an order/sale, then the order/sale will ALWAYS be held in Touch. Held orders/sales can be retrieved later, using the Hold/Recall Sale (#20) POS Key.
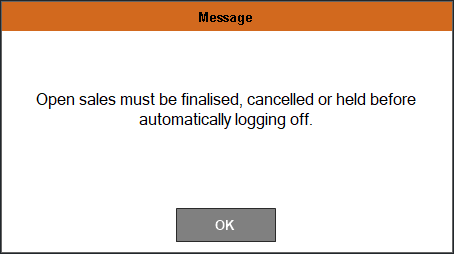
- Unselected to ensure that when a Clerk/Staff Member is logged off as follows, then the following prompts will be displayed:
- When attempting to manually log off by selecting the Clerks menu option in the Tool bar or scanning the Clerk's/Staff Member's RFID.
- When automatically logged off due to the Clerk Auto Log Off time set elapsing as a result of non-activity.
- When attempting to manually log off by selecting the Clerks menu option in the Tool bar or scanning the Clerk's/Staff Member's RFID.
Notes...
Each time one of the above prompts are displayed, these are logged in Touch along with the Clerk's/Staff Member's response
- Mask Clerk ID on login screen - Select to mask/hide the Clerk's ID when entered in the Login screen. Also, if selected, the Clerk's identity will be hidden from view in the sales grid in Touch as well as on the Customer Facing Display. Use to prevent Clerk IDs being visible when entered. When selected, a dot (.) will be displayed for each character of the Clerk ID entered instead of showing the actual ID entered.
- Mask Clerk ID on reports - Select to mask/hide the Clerk's ID in the Clerk section of Reports. For example, in Z Reports.
- Support Multiple Languages - Select to support multiple languages at Swiftpos Touch terminal and on the Receipt/Kitchen Order. You must first configure Swiftpos to enable Multi Languages. A Languages menu option will only appear on the Swiftpos Touch Toolbar of the main screen if the No Clerk log in required setting is selected. Otherwise, the Clerk/Staff Member's Preferred Language setting will determine the language when they login.
- Force Clerk Log in screen to always have focus - Select to ensure that the Keypad Input Device always has focus.
- Return to Home Screen on Clerk Logoff - Select to ensure the Home layout is displayed when a Clerk/Staff Member Logs Off. If the No Clerk Login Required option is selected then consider selecting theReturn to Home screen after Sale option instead.
- Disable Quit Button - Select to ensure the Exit/Quit option is not displayed in the Login screen.
- Disable Change PIN - Select to ensure the Change Pin icon is no longer visible, and therefore ensuring Clerks/Staff cannot change their PIN.
Notes...
The Change Pin icon is only visible when either the Manual Log In/Out or the Log off when sale finalises options are selected.
Fast Clerks Tab ▲ ▼
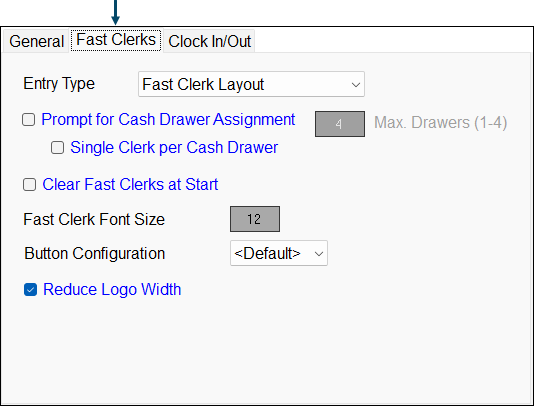
- Entry Type - Select from the drop-down list one of the following:
- Fast Clerk Layout - Used to invoke the Fast Clerks Login screen each time an order/sale is completed. Refer HERE for more information.
- Fast Clerk Keyboard - Used to make use of the Fast Clerk (#111) POS Key added to a Keyboard Layout. Refer HERE for more information.
- Prompt for Cash Drawer Assignment - Select to ensure the assignment of a Cash Drawer prompt is displayed when a Clerk/Staff Member logs in. Refer HERE for more information.
- Max Drawers - Select to display a Numeric Keypad to set the maximum number of Cash Drawers available in Touch. Enter a number between 1 and 4.
- Single Clerk per Cash Drawer - Select to enforce the assignment of each Cash Drawers to one designated Clerk/Staff Member.
- Clear Fast Clerks at Start - Select to ensure Fast Clerks are cleared at start up of the Touch. This will mean that Clerks/Staff Members will need to login again.
- Fast Clerk Font Size - Select to open a Numeric Keypad prompt to enter the desired font size to be applied to the names appearing on the Fast Clerk buttons.
- Button Configuration - Select from the drop-down list one of the Fast Clerk button configurations available. The default is 4 x 6. That is, 4 buttons across by 6 buttons down. As can be seen HERE.
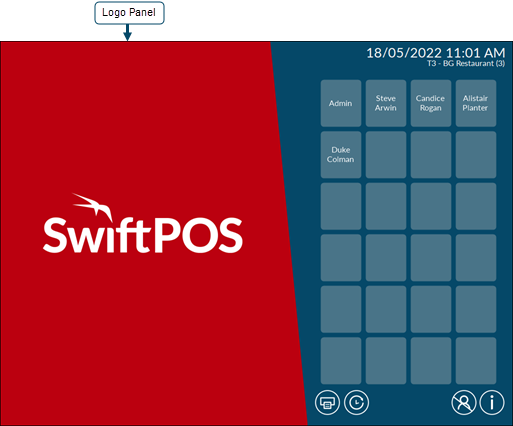
- Reduce Logo Width - Select to reduce the width of the Logo panel and thus making more room for more Fast Clerk buttons. Below, are examples of a Logo Panel when this option is:
Selected
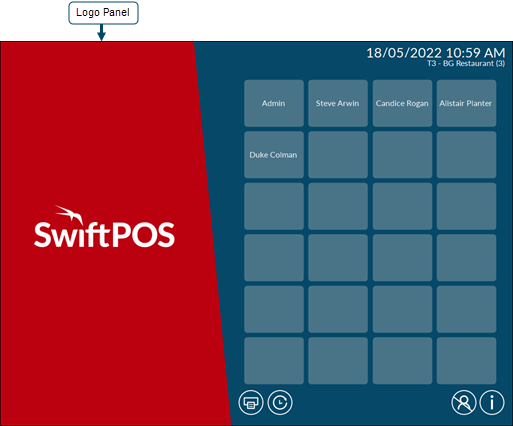
Not Selected
Notes...
For this option to take effect, any updates will need to be processed first.
Clock In / Out ▲ ▼

- Show Clerk Clock In/Out Panel - Select to ensure the Clock In menu option in the Tool bar. This allows Clerks/Staff to Clock In/Out in Touch.
- Print Clock In/Out Report - Select to print out a summary report when a Clerk/Staff Member clocks off for the manager to sign.
- Warn Clerk to Clock-In On Login - To be updated.
- Force Pin On Clerk Clock In/Out - Select to ensure Staff are forced to enter their PIN when Clocking In/Out.
- Disable Clock In/Out Keypad Entry - Select to disable.
End of article ▲