
This outlines How To Add And Configure A Venue To Connect To XERO in either the Swiftpos XERO Basic or XERO Advanced interface.
Subjects ▲ ▼
When Is It Used? ▲ ▼
This is generally used by either the XERO Basic or XERO Advanced interface in Back Office, when:
- Venues are implementing the XERO application for the first time and require a connection to be established between Swiftpos and their XERO application, in order to:
- Import into Swiftpos, XERO's Chart of Accounts, so that, an up to date list of the Accounts configured in XERO, are available to either the Swiftpos XERO Basic or XERO Advanced interface.
- Import into Swiftpos, XERO's Tracking Categories, so that, an up to date list of the Tracking Categories configured in XERO, are available to the Swiftpos XERO Advanced interface.
- Export from Swiftpos into XERO, General Journals, Supplier Invoices and/or Terminal Cash Offs.
What Is Required? ▲ ▼
- A Venue will need to create a XERO App for an API connection to be established between Swiftpos and XERO. Refer HERE for more information.
How To Add And Configure A Venue To Connect To XERO? ▲ ▼
Do as follows:
- In the Venue Settings tab for XERO Basic and for XERO Advanced, do as follows:
- Select the Add Row button to open the Search Venues screen to locate and select a Venue
- Once selected, populate the following columns with the Venue's XERO App configuration credential
- Client ID
- Client secret
- Redirect URL
- Refer HERE for more information
- Select the Save button to save the changes
- Now select the Test button on the same new row
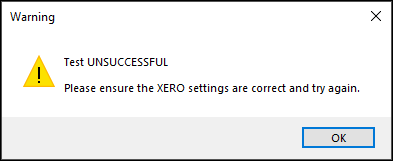
- If a Warning prompt is displayed, with a Test UNSUCCESSFUL notification, select OK and then select the Save button. Select the UNSUCCESSFUL button in the Test column, to test the connection again
- In the Venue Settings tab continued ...
- If a XERO login prompt is displayed, login with valid credentials.
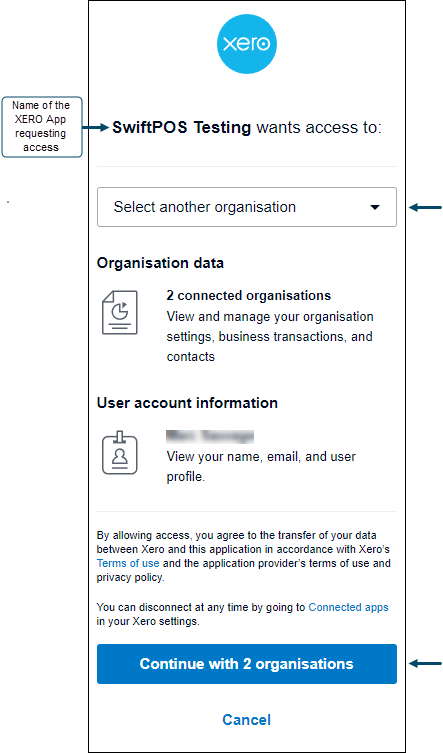
- When a prompt is displayed, requesting access to an Organisation, either
- Select one of the Organisations that are available to be selected from the wants access to drop-down list.
- In the Venue Settings tab continued ...
- When a prompt is displayed continued ...
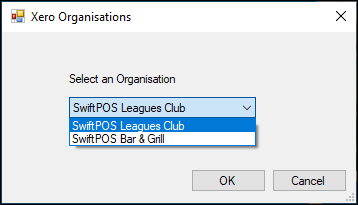
- Or, select the Continue with X organisations button to display a Xero Organisations prompt, from which a selection can be made.
- When a prompt is displayed continued ...
- In the Venue Settings tab continued ...
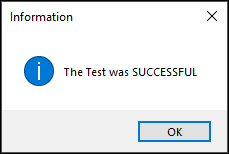
- Once the appropriate XERO Organisation has been selected, the following notification prompt should display if the connection to XERO was successful.
- In the Venue Settings tab continued ...
- Select OK to continue.
- The Organisation column in the grid, should now display the selected XERO Organisation opposite the new Venue added.
End of article ▲