This outlines How To Pay Using EFTPOS in conjunction with the Finalise (#2-30) POS Key in Touch.
Subjects ▲ ▼
About ▲ ▼
What Is Required? ▲ ▼
- To integrate with EFTPOS, ensure EFTPOS Hardware is configured and connected to the correct serial port on your PC.
- Ensure an the EFTPOS (#2) POS Key and if necessary the EFT Tips (#43) POS Key, are added to the appropriate Layout using the Keyboard Designer.
What To Consider? ▲ ▼
- If Cash Out is to be made available to patrons, ensure the EFTPOS (#2) POS Key has the Enable Cash Out option selected.
When Is It Used? ▲ ▼
When payment is required to be made for an Order/Sale, the EFTPOS (#2) POS Key can be used to record the full/partial EFTPOS payment of that Order/Sale in Touch.
How To Pay Using EFTPOS? ▲ ▼
When payment is required to be made for an Order/Sale, the EFTPOS (#2) POS Key can be used to record the full/partial EFTPOS payment of that Order/Sale in Touch.
Using the EFTPOS (#2) POS Key, the following payment options are available:
- Declined EFTPOS Transaction
- For Cash Out Only
- For Order/Sale And Cash Out
- For Order/Sale Only
- For Tipping
- Refund An EFTPOS Transaction
Declined EFTPOS Transaction ▲ ▼
In Touch, do as follows:
- When an EFTPOS payment is declined, select the Close button.
- Depending on the reason for the transaction being declined, retry the EFTPOS payment. Or, the patron will need to provide an alternate method of payment.
- If there are no other means of paying for the Order/Sale, cancel the entire sale.
For Cash Out Only ▲ ▼
In Touch, do as follows:
- Select the EFTPOS (#2) POS Key.
- If the Enable Cash Out option has been selected, then at the prompt to enter the Cash amount, enter required amount and select Enter.
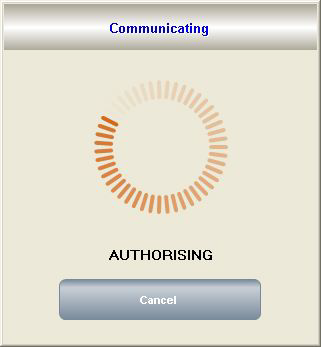
- The Authorising screen will load.
- Select the Account Type then Enter (for signature) or PIN # and Enter.
- If a PIN # was NOT entered, the printer will print the EFTPOS docket for a signature. Otherwise, the EFTPOS display will read ???Processing Now??? and will then print when transaction is accepted or declined.
- If the transaction has been declined a reason will be displayed. For example, Incorrect PIN, Incorrect account, etc. Select the CLOSE button. Refer to Declined EFTPOS Transaction for more information.
- The Change that is displayed is the amount of Cash to be handed to the patron.

Notes...
The prompt to enter the Cash Out amount will only be displayed when the EFTPOS POS Key is the last finaliser key selected.
For Order/Sale And Cash Out ▲ ▼
In Touch, do as follows:
- Add multiple Items/Products to an Order/Sale.
- Select the EFTPOS (#2) POS Key.
- If the Enable Cash Out option has been selected, then at the prompt to enter the Cash amount, enter required amount and select Enter.
- The Authorising screen will load.
- Select the Account Type then Enter (for signature) or PIN # and Enter.
- If a PIN # was NOT entered, the printer will print the EFTPOS docket for a signature. Otherwise, the EFTPOS display will read ???Processing Now??? and will then print when transaction is accepted or declined.
- If the transaction has been declined a reason will be displayed. For example, Incorrect PIN, Incorrect account, etc. Select the CLOSE button. Refer to Declined EFTPOS Transaction for more information.
- The Change that is displayed is the amount of Cash to be handed to the patron.
Notes...
The prompt to enter the Cash Out amount will only be displayed when the EFTPOS POS Key is the last finaliser key selected.
For Order/Sale Only ▲ ▼
In Touch, do as follows:
- Add multiple Items/Products to an Order/Sale.
- Select the EFTPOS (#2) POS Key.
- If the Enable Cash Out option has been selected, then at the prompt to enter the Cash amount, select Enter to proceed with a Cash Out amount of $0.00.
- The Authorising screen will load.
- Select the Account Type then Enter (for signature) or PIN # and Enter.
- If a PIN # was NOT entered, the printer will print the EFTPOS docket for a signature. Otherwise, the EFTPOS display will read ???Processing Now??? and will then print when transaction is accepted or declined.
- If the transaction has been declined a reason will be displayed. For example, Incorrect PIN, Incorrect account, etc. Select the CLOSE button. Refer to Declined EFTPOS Transaction for more information.
Tipping ▲ ▼
EFTPOS Tipping is available for Table Orders/Sales which have been finalised to an EFTPOS provider that supports Tipping. This allows you to add a Tips to be finalised/completed to a Table Order/Sale without requiring the patron's authorisation.
To Be Considered ▲ ▼- Must be available and activated by the Bank.
- Must be supported and activated in the EFTPOS hardware. This feature is currently only supported with PC-EFTPOS and TYRO.
In Touch, do as follows:
- Once the Table Order/Sale is paid for via EFTPOS, select the EFT Tips (#43) POS Key to display the EFTPOS Table Orders/Sales.
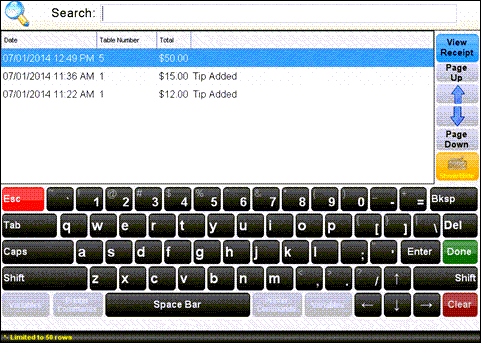
Tips already added to a Table Order/Sale can be seen, because the Total will include the Tip. The Orders/Sales listed will only be cleared when Yes is selected at the following prompt:
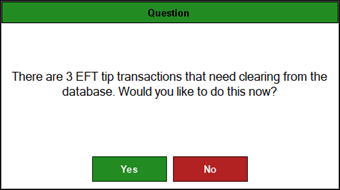
The above prompt is displayed when a Z-Report is run.
- Select the Table Order/Sale to which the Tip is to be applied, and enter the Tip amount.
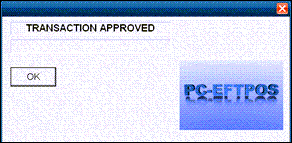
- Once the transaction is approved, a prompt similar to the one following will be displayed.
- The Tip will be displayed in the sales grid.
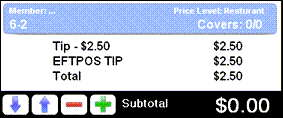
- No further action is required.
Refund An EFTPOS Transaction ▲ ▼
In Touch, do as follows:
- Ensure the patron's EFTPOS card is used to process the refund.
- Select the Refund Mode (#1003) POS Key. The background of the sales grid will appear red to indicate the swiftpos Touch terminal is now in Refund mode.
- The remaining process is identical to an Order/Sale.
- Add the Items/Products to and select the EFTPOS (#2) POS Key.
- If the Enable Cash Out option has been selected, then at the prompt to enter the Cash amount, select Enter to proceed with a Cash Out amount of $0.00.
- The Authorising screen will load.
- Select the Account Type then Enter (for signature) or PIN # and Enter.
- If a PIN # was NOT entered, the printer will print the EFTPOS docket for a signature. Otherwise, the EFTPOS display will read ???Processing Now??? and will then print when transaction is accepted or declined.
- If the transaction has been declined a reason will be displayed. For example, Incorrect PIN, Incorrect account, etc. Select the CLOSE button. Refer to Declined EFTPOS Transaction for more information.
Show User Interface ▲ ▼
To show the UI for EFTPOS Communications with the BP EFTPOS (EFT19) terminal, in Touch, do as follows:
- Make sure the EFTPOS Plus Enterprise has started.
- Select the EFT Show UI (#706) POS Key.
- This will start the User interface to configure the BP EFTPOS (EFT19) terminal for initial Start-up.
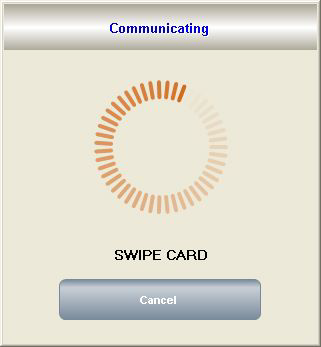
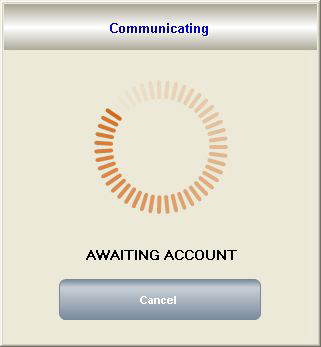
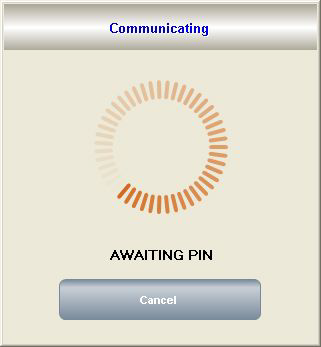
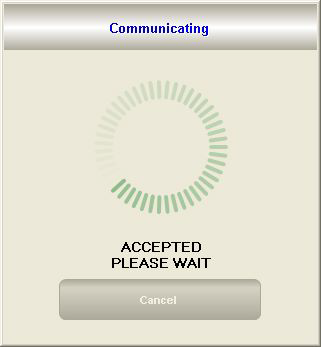
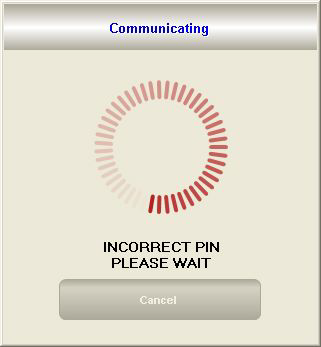
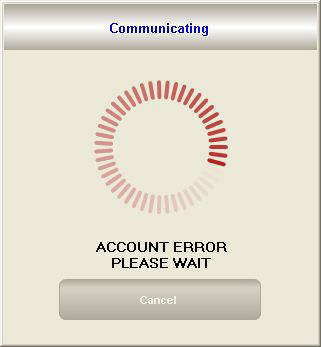
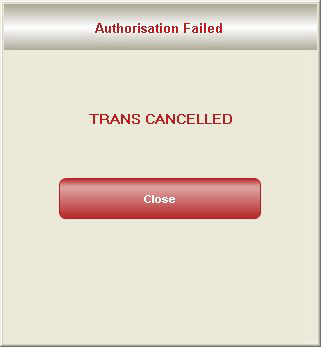
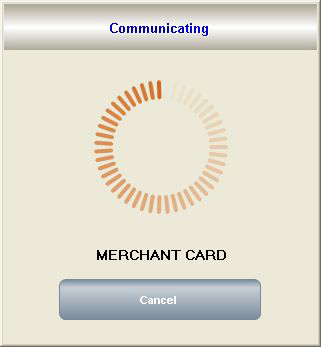
Examples ▲ ▼
Examples Of Typical EFTPOS Screens


End of article ▲