
Self Service POS is a Swiftpos solution enhancing the experience of patrons by providing the ability to scan items and pay for them via a Self Service POS.
Subjects ▲ ▼
- Terms & Concepts
- The Patron's Experience
- What Is It?
- What Is Required?
- What Is Supported?
- What To Consider?
- When Is It Used?
Terms & Concepts ▲ ▼
- Checkout - This Layout is NOT used by Self Service POS
- Layout Images
- Master Menu
- Menus
- Out Of Service
- Order Type - This Layout is NOT used by Self Service POS
- Start
- Summary - This Layout is NOT used by Self Service POS
Layout Images ▲ ▼
A Layout Images can be added to Layouts and will obviously need to be sized according to the screen size being used for the Self Service POS. Refer to What Screen Resolutions Are Supported? for more information.:
- Start - Background image 1920h. The width will depend on the screen size
- Summary - Banner image 700h. The width will depend on the screen size
Refer to the How To Add Images To Swiftpos for more information.
Notes ...
I mages added won’t appear In the Keyboard Designer, but will appear in Touch when the Self Service Keyboard is loaded.
Images, by default, will be centred and cropped when displayed in Self Service. They will NOT be resized (shrunk/stretched) to fit to screen size.
Master Menu ▲ ▼
The Self Service Master Menu is the main Layout that will be assigned as the Home Layout in Self Service. However, this can be changed once further Layouts are added to the Keyboard. This Layout is automatically generated when the Self Service option from the Style drop down list is selected. Refer to Master images for more information.
Menus ▲ ▼
The Self Service Menus are other Keyboard Layouts that function as the Menus on which Products will be displayed. These Layouts will need to added to the Master Menu as Layout POS Keys. Refer to Menu images for more information.
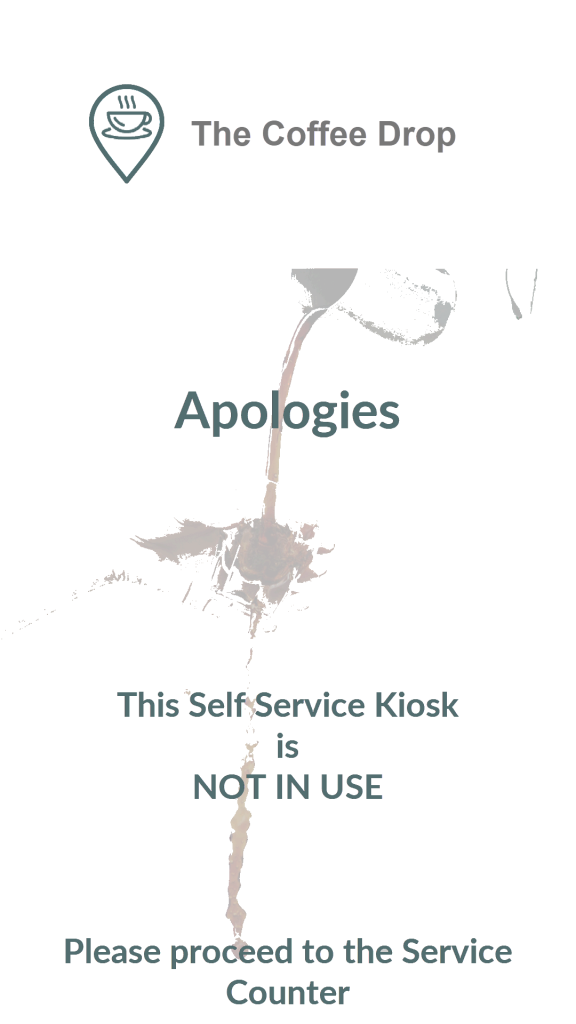
Out Of Service ▲ ▼
The Self Service Out Of Service (Locked) Layout is presented when the Self Service is locked. This is usually achieved by selecting the Lock Terminal option in the Basic Tools menu or, if configured, the Lock Self Service POS Key in the Admin Layout. This Layout is automatically generated when the Self Service option from the Style drop down list is selected. Refer to Out Of Service images for more information.
This Layout DOES NOT need to be added to a Keyboard in as a Layout POS Key to any Layouts. It will be automatically displayed when appropriate.
Start ▲ ▼
The Self Service Start (Welcome) Layout is used as the screen saver to which the Swiftpos Self Service returns to when there has been no activity for the time set in the Automatic Restart Sale ... setting has elapsed. This Layout is automatically generated when the Self Service option from the Style drop down list is selected. Refer to Start images for more information.
This Layout DOES NOT need to be added as a Layout POS Key to any Layouts. It will be automatically displayed when appropriate.
The Patron's Experience ▲ ▼
POS In Landscape
What Is It? ▲ ▼
Self Service POS is a NEW Swiftpos Self Service offering, introducing a streamlined UI experience for patrons and still delivering personalised branding for Venues. Self Service provides Venues with the capability to transform Touch, so that it can be used to offer patrons the ability to scan items and pay for them via a Self Service POS.
Swiftpos Self Service offerings significantly reduces the time to setup and configure a self service POS solution, by using a purposely designed Keyboard template that automatically generates Layouts when a Self Service POS type Keyboard is created. The Layouts created automatically are:
- Admin
- Checkout - This Layout is NOT used by Self Service POS.
- Master
- Order Type - This Layout is NOT used by Self Service POS.
- Out Of Service
- Start (Welcome)
- Summary - This Layout is NOT used by Self Service POS.
These can then be quickly configured as required for the Venue. The Self Service POS style Keyboard has been designed to use existing Keyboard and Touch functionality, to build the Menus (Layouts) and to quickly add existing Products. Once configured, the Self Service POS option will apply these to a templated visual display in Touch. This means there is a minimum effort required to configure Layouts, and design visuals for it.
What Is Required? ▲ ▼
-
Swiftpos V10.73+
- The Urbanist font is required to be installed to support Swiftpos Self Service POS.
- Venue advertising/branding Images need to be available and added to the different types of Self Service layouts. Refer to How To Add Images To Swiftpos for more information. That is, for the:
- Start (welcome) type layout - An image is required depending on the screen size to be used for the Self Service. For example:
 1024x768
 1366x768
 1920x1080 Landscape (This image is not to scale)
 1920x1080 Portrait (This image is not to scale)
- Venue advertising/branding Images continued ...
- Menu (including the Master Menu) type layout - Optional. An image to be displayed in the sales grid prior to Items being ordered. Images (if to be added to these type Layouts) will depend on the screen size to be used for the POS Self Service. For example:
 1024x768 - Recommended image size is 488x440
 1366x768 - Recommended image size is 740x690

1920x1080 Landscape - Recommended image size is 732x690 (This image is not to scale)

1920x1080 Portrait - Recommended image size is 1020x580 (This image is not to scale)
- Venue advertising/branding Images continued ...
- Out Of Service type layout - An image is required depending on the screen size to be used for the Self Service. For example:
 1024x768
 1366x768 (This image is not to scale)

1920x1080 Landscape (This image is not to scale)
1920x1080 Portrait (This image is not to scale)
Notes ...
Images added to Layouts, that are NOT the same size as those mentioned above, will be CENTRE CROPPED. That means, that when images are used that are larger than the size recommended, they will appear cropped in Self Service.
- Products will need to exist for:
- Patrons to select when ordering. These will need to be configured appropriately. That is:
- Be appropriately and correctly priced.
- Have patron friendly images (500h x 500w pixels) is associated with them. This is OPTIONAL. Preferably these need to be set against each Product that is added to a Self Service Menu type layout. Refer to How To Add Images To Swiftpos for more information. For example an image for a coffee Product:
- Patrons to select when ordering. These will need to be configured appropriately. That is:

(This image is not to scale)
- Products continued ...
- Modifiers/Instructions when ordering specific Products. will need to be configured/identified where appropriate. For example, for each of the sizes of Coffees available for ordering, Modifier/Instruction Products will need to be created so that patrons are able to choose either a Small, Regular (medium) or Large Coffee. Refer to Post Linking for more information. These will need to be appropriately and correctly priced where required. Refer to Post Linking for more information. Also, refer to What Are The Limitations? for more information.
- Families to group together:
- The Products that will be available to patrons for ordering. This is OPTIONAL, but is recommended, as it is helpful when assigning Products to the different Menus in Self Service. For example, Families for Cold Beverages, Cakes, Desserts, Hot Beverages, Toasties, Treats, Wraps, etc.
- The Modifier/Instruction Products identified above. This is OPTIONAL, but is recommended, as it is helpful when configuring Post Links to specific Products. For example, Families for What Size?, With Milk?, With Sugar?, Extras?, etc. Refer to Post Linking for more information.
- The appropriate Clerk Security Group permissions required to access Keyboard Designer in Back Office.
- A touch screen of the size 1920h x 1080w, with Touch installed and operational.
Notes ...
A Swiftpos POS Terminal (Touch) licence maybe required. If more POS Terminal (Touch) licences are required then please contact your Swiftpos Reseller or Swiftpos Support.
- To allow Gift Cards/Vouchers to be redeemed, ensure the Vouchers not in use option in Touch, is NOT selected. If NOT selected, an Add Voucher option will appear at the bottom of the Self Service POS screen. Select it to redeem a Gift Card/Voucher.
What Is Supported? ▲ ▼
-
From Swiftpos v10.74.7+ onwards the following is supported:
- Discounts
- Mix n Match
- Voucher Actions - The Voucher Action Types Stored Value, Once off Media and Price Level Change are supported.
- Swiftpos Self Service POS currently only supports the following screen resolutions:
- 1024 x 768 - Landscape orientation only.
- 1366 x 768 - Landscape orientation only.
- 1920 x 1080 - Both portrait and landscape orientations.
1024X768 ▲ ▼

1366X768 ▲ ▼

1920X1080 In ▲ ▼


What To Consider? ▲ ▼
- For those Products, with Post Linking, that are going to be available for ordering via Self Service, the following will need to be considered:
- Modifier/Instruction Products CANNOT have negative pricing. For example, when changing the selection of the size of a Coffee, it cannot be configured, that the patron makes a selection in size that is smaller than the default size sold, and hence reduce the price by $1.00 (for example). This is currently NOT supported. It is therefore recommended that the Product added to a Self Service Layout is the one that represents the lowest price. For example, a small Coffee. This will ensure that any other sizes to choose from are an increase in price, and NOT a reduction in price. A regular Coffee can then be a $1.00 increase in price, and a large $2.00s.
Notes ...
There are plans that this limitation will be addressed in future releases.
When Is It Used? ▲ ▼
Self Service POS can be implemented in any Swiftpos Venue that is wanting to quickly and easily offer patrons Self Service POS options.
Venues currently running Swiftpos and wanting to go the extra mile and offer Self Service options to their patrons. With a quick and easily configurable Touch Keyboard type solution, Venues can piggyback off their existing Swiftpos application and relatively quickly and easily configure a Self Service POS to go.
End of article ▲