
This outlines the information and steps that are needed to familiarise oneself with, before and during the setting up of a Self Service Kiosk at a Swiftpos Venue.
The content is targeted at Resellers and Swiftpos Venue Administrators who have a sound knowledge of and experience with Swiftpos. For further information or assistance, please contact your Swiftpos Reseller or Swiftpos Support.
Steps To Follow ▲ ▼
- Review About
- Introduction
- How To Configure Self Service Kiosk?
- Start Using Self Service Kiosk For The First Time
Introduction ▲ ▼
For the purposes of explaining the GET STARTED process with Swiftpos Self Service Kiosk, the example of coffee shop Self Service options for The Coffee Drop coffee shop is going to be used and referred to frequently in the content of this article going forward.
Start Using Self Service Kiosk For The First Time ▲ ▼
Once all the above has been completed, start Touch and select the Tools > Change Keyboard option to change the Keyboard to the newly created Self Service Keyboard. Once displayed, the Self Service can be used to do the following:
- Cancel/Restart An Order
- Lock Self Service
- Navigate To Admin
- Pay For An Order
- Place An Order
- Timing Out Of An Inactive Order
- Unlock Self Service
- Update An Order
- View An Order
- Example Of Using Self Service Kiosk
Cancel / Restart An Order ▲ ▼
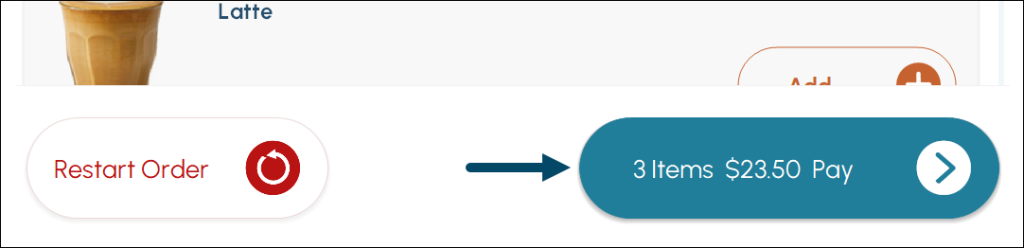
- Select the Restart option at the bottom of the screen.

- Once selected, this will automatically cancel the current Order and present the Start Layout, if the Start Layout has an Image added. Otherwise, the Order Type Layout will be displayed if the Dine In Service option is selected. If the Dine In Service option is NOT selected, then the Master Layout will be displayed.
Lock Self Service ▲ ▼
To access the Lock the Self Service and thereby render it out of service to patrons, do as follows:
- Touch the very top right-hand corner of any one of the Layouts (Menus included) to access the Admin Layout. Then either:
- Select the Go To TOOLS POS Key in the Admin Layout and then select the Lock Terminal option in the Basic Tools menu, OR
- If configured, select the LOCK Self Service POS Key in the Admin Layout.
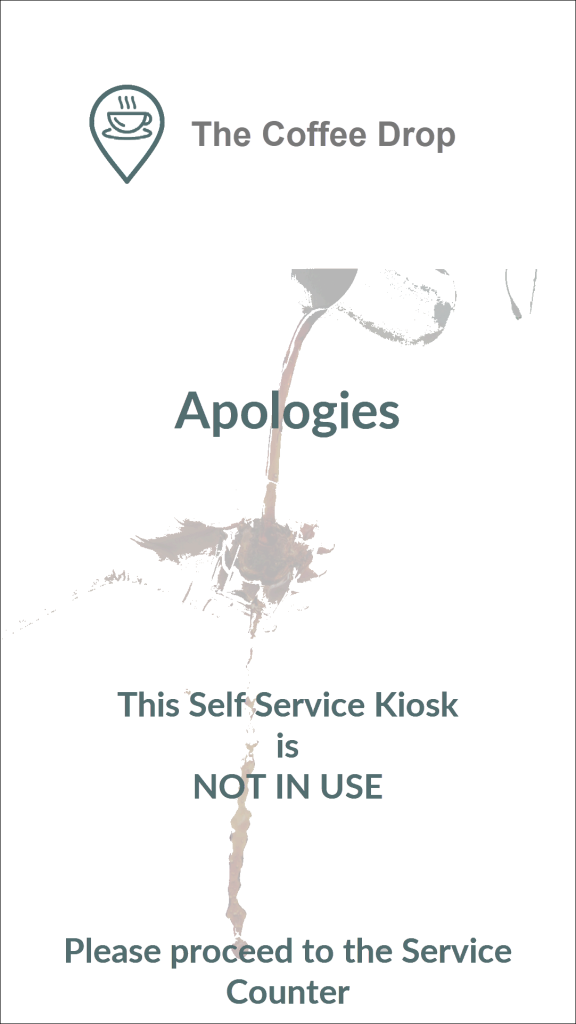
- Once either of the above has been selected, then the Out Of Service Layout will be displayed with the image that was configured HERE.
Navigate To Admin ▲ ▼
To access the Admin Layout, do as follows:
- Touch the very top right-hand corner of any one of the Layouts (Menus included). There is no visible indication that there is a touch button there. This is to ensure it's existence is NOT visible to patrons.
Notes ...
This ONLY applies to Layouts that have a Layout Image added. The Admin Layout cannot be accessed from Layouts that DO NOT have a Layout Image.
When a Layout has NO IMAGE associated with it, then in order to access the Admin Layout, scroll through the Menu options all the way to the very right and select the very top right-hand corner to the right of the right most Menu option.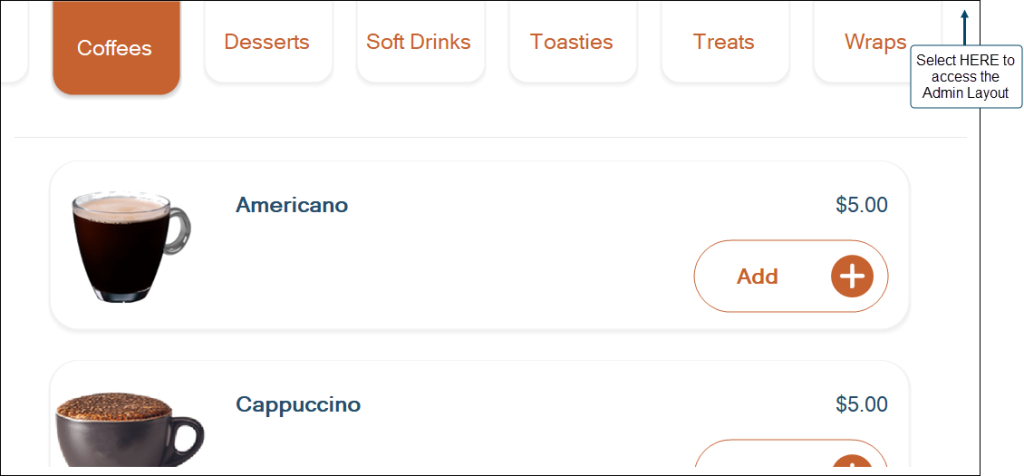
Pay For An Order ▲ ▼
- Select the Pay option at the bottom right-hand corner of the screen to proceed to the Checkout.

- Once selected and payment has been complete via the EFTPOS peripheral, the Order will be submitted and the Summary Layout presented.
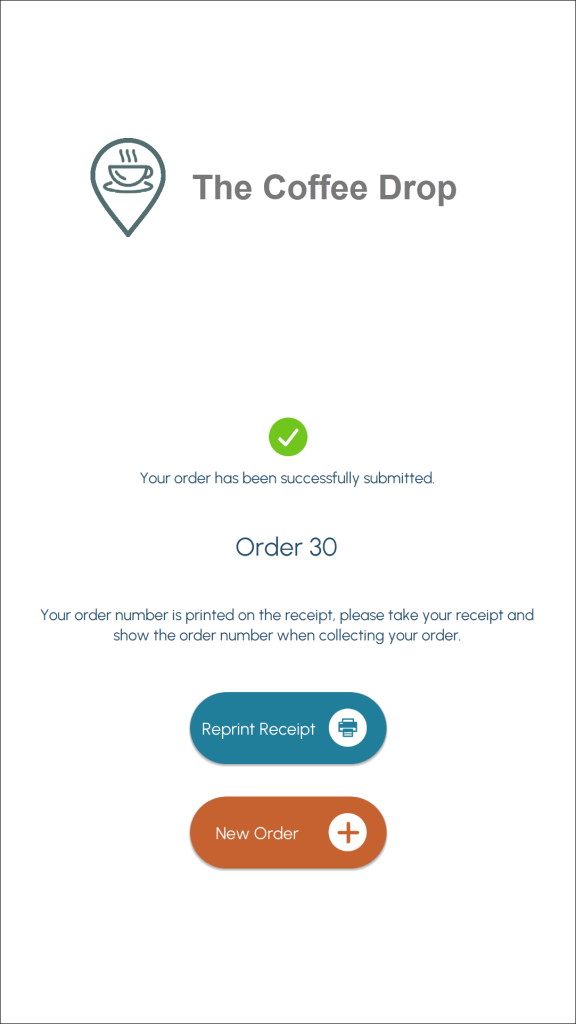
- If a receipt printer has been configured correctly, a receipt will print automatically, If however, there is a requirement to reprint the receipt, select the Reprint Receipt option to do that.
- Select the New Order option to start a new Order.
- If the Dine In Service option is selected, then the Order Type Layout will be presented. Otherwise, the Master Menu Layout will be presented.
Notes ...
When Auto Numbering is NOT enabled, the Receipt Number will display as the Order Number in the Checkout Layout. As depicted in the above screenshot.
When Auto Numbering IS enabled, the Auto Number will display as the Order Number in the Checkout Layout.
Place An Order ▲ ▼
- Touch the Start Layout to commence an Order.
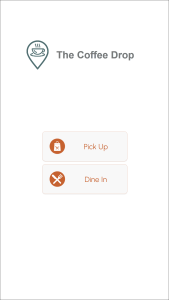
- If the Dine In Service option is selected, then the Order Type Layout will be presented. Select one of the Order types presented. For example:
- Pick Up (Collect/Takeaway)
- Dine In (Eat In)
- The Master Menu will be presented.
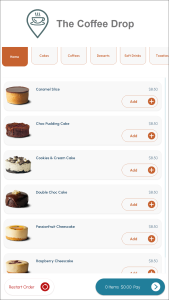
- Select from the Products listed (if any) OR navigate to one of the other Menus listed (under the banner image), and locate and select the Products, to add to your Order.
- Once added, the number of items ordered, and the total value of the Order will appear in the Pay option at the bottom right-hand corner of the screen.
Timing Out Of An Inactive Order ▲ ▼
If the length of time of no activity monitored at a specific Self Service Touch terminal, exceeds the Automatically restart sale after X seconds time set, then a Do you want more time? prompt will be presented to the patron. If the patron selects No in response, the open Order will be cancelled and the Start (Welcome) Layout will be presented. If the patron fails to respond within the 10 second count down (top left-hand corner of the prompt), the open Order will be automatically cancelled, and the Start (Welcome) Layout will be presented.
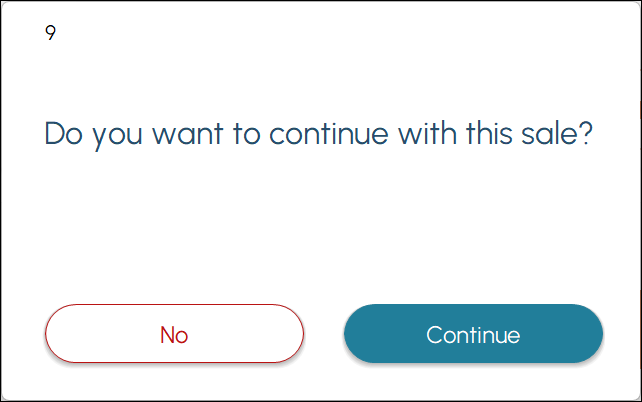
Example of a Time Out with the patron NOT responding to the more time prompt
Unlock Self Service ▲ ▼
To Unlock a Locked Self Service (Out Of Service screen displaying), touch the very top right-hand corner of the Out Of Service screen.
Update An Order ▲ ▼
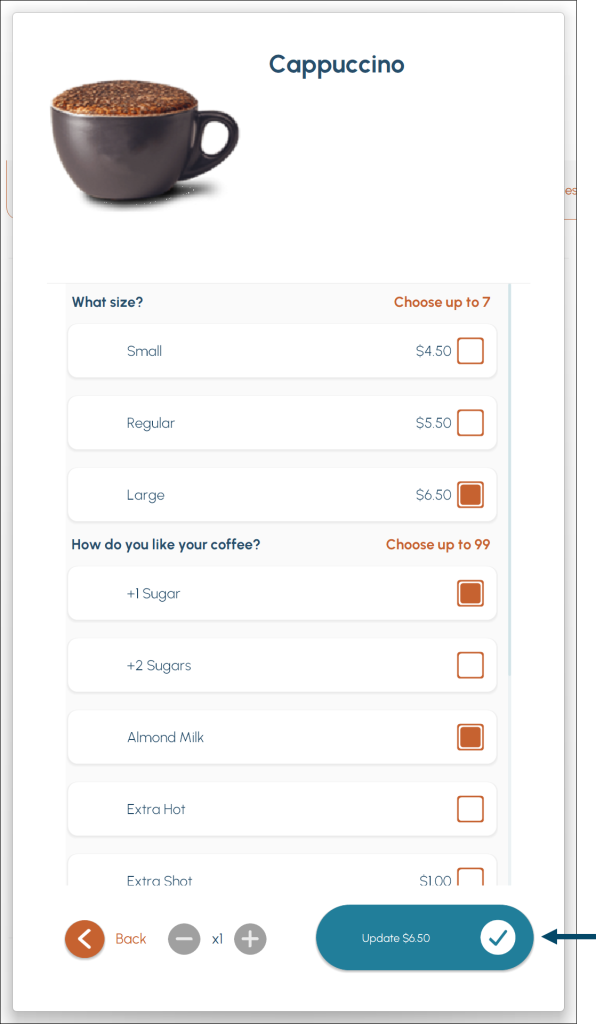
- To change the quantity of any item ordered, select either the - or + options as is required.
- To remove an item from an Order, select the - option repeatedly until the quantity is reduced to zero, and the item is removed from the Order.
- To edit the Modifiers/Instructions relating to a specific item, select the edit icon opposite it, to access that Item's Modifiers/Instructions.
- Change as required and then select the Update Order option at the bottom right-hand corner of the screen to save the changes.
View An Order ▲ ▼
This ONLY applies to Kiosk type Self Service.
- Select the Pay option at the bottom right-hand corner of the screen to display the Checkout Layout.

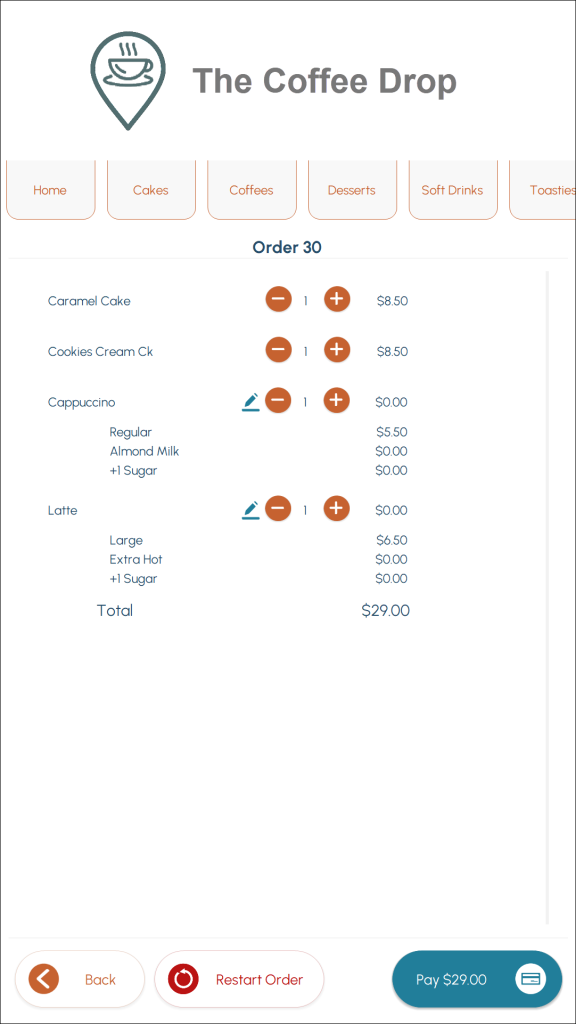
Example of a Checkout
Notes ...
When a patron selects a Pickup Service Order Type:
When Auto Numbering is NOT enabled, the Receipt Number will display as the Order Number in the Checkout Layout. As depicted in the above screenshot.
When Auto Numbering IS enabled, the Auto Number will display as the Order Number in the Checkout Layout.
When a patron selects a Dine In Service Order Type:
Regardless of the whether the Auto Numbering option is selected or not, neither the Receipt Number nor the Order Number is displayed. Instead, the Order Tag and the number entered by the patron will display as the Order Number in the Checkout Layout.
- To exit the Checkout Layout, select the Back option.
End of article ▲