This outlines How To Enrol A Finger Print for the currently logged in operator in Touch.
How To? ▲ ▼
Do as follows:
- Access the Clerk Tools menu in Touch. Refer HERE for more information.
- Select the Enroll Finger Print option to display the following:
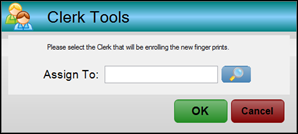
- Select the search option to locate and select the Clerk/Staff Member for which a finger print is being scanned.
- Select OK.
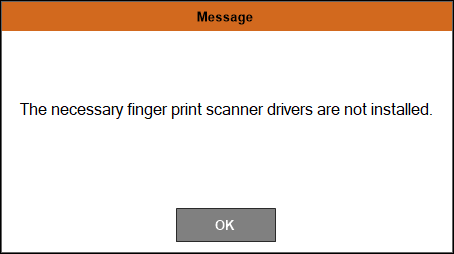
- A confirmation notification will be displayed.
Notes ...
The Clerk's/Staff Member's details will be updated in Back Office.
End of article ▲