This provides information in relation to Branding & QR Codes for Venues when considering implementing Orderaway.
Notes ...
It is recommended that Venues work with their Resellers to provide the various information and graphics outlined in this document.
Subjects ▲ ▼
QR Codes ▲ ▼
Each Venue using Orderaway or (if required) each Location within a Venue, will have a unique URL, for example, https://Orderaway.com.au/restaurantOrderaway. As recommended in the initial setup, the URL should reference the Venue’s name.
Location Suffix ▲ ▼
The URL can be amended further to cater for the requirement of linking the Orderaway Order to a patron’s Order location. That could be a Room, Seat, Suite, Table, etc. This is referred to as a Location Suffix. And is added to the end of the URL using the following URL suffix (or qualifier): ?Location=
A Venue choosing to make use of this will require a URL. for each identifiable Order location. An Order location will comprise of a type and a number (or identifier). An Order location type can be for example, a Room, Seat, Suite, Table, etc. The number (or identifier) would be for example, 12, 76, etc. As in Table No (12), Seat No (76).
In the case of a Table, the Location Suffix would look something like this: ?Location=Table%2012, where %20 indicates a space character. Added to the URL, it will then look like this:
https://Orderaway.com.au/restaurantOrderaway?Location=Table%2012, and will appear to patrons as Table 12
In the case of a Seat, the Location Suffix would look something like this: ?Location=Seat%2076, where %20 indicates a space character. Added to the URL, it will then look like this:
https://Orderaway.com.au/restaurantOrderaway?Location=Seat%2076, and will appear to patrons as Seat 76
The Order location will appear as the Booking Name in the Orders Pending list at the Touch terminal. Hence the {Booking Name} print field should be added to any Kitchen Printer peripherals Header settings, where appropriate, to ensure it is included on Bar/Barista/Kitchen/etc Dockets.
QR Codes ▲ ▼
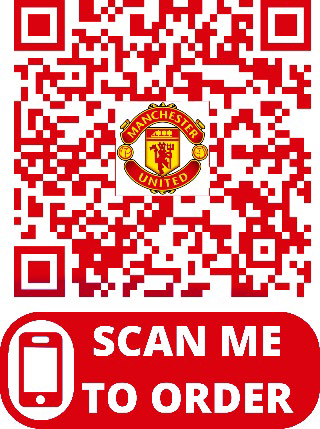
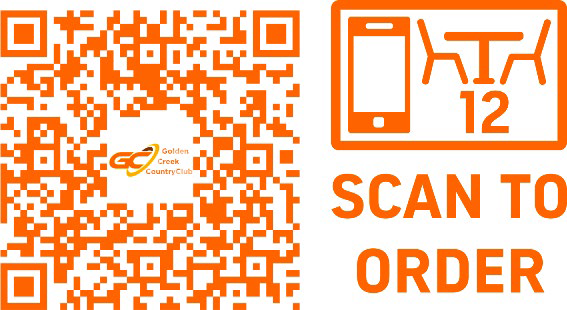
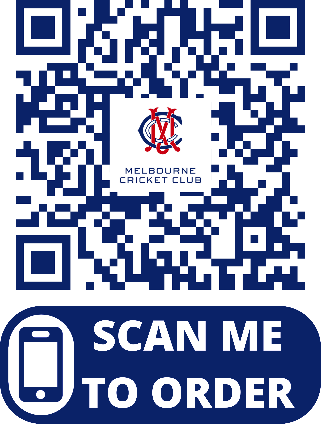
QR codes offer a straightforward way for patrons to make use of Location Suffixed URLs, rather than having patrons manually type them in as a web address. As an example, scan the QR Codes below using a mobile phone QR Scan App, to see how Table’s 12 and 15 have been embedded into the QR Code at the same Venue.

Table 12 - https://orderaway.com.au/restaurantorderaway?location=Table%2012

Table 15 - https://orderaway.com.au/restaurantorderaway?location=Table%2015
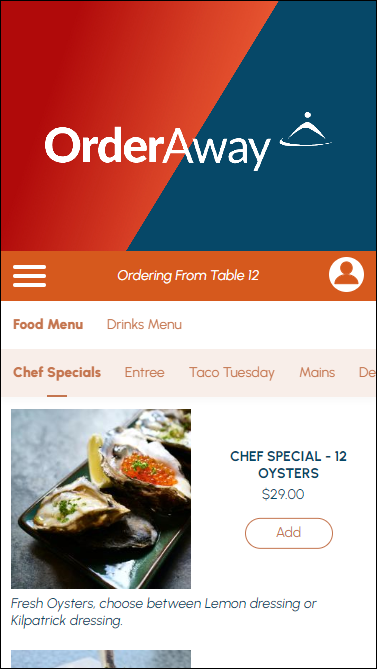
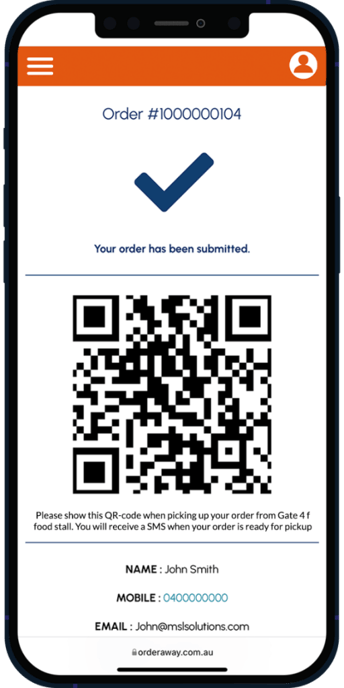
Patrons will see something like this:
In our experience, Orderaway customers elect to produce their own QR code stickers/table markers in collaboration with their marketing/design departments/partners. The above information can be used to determine the URLs that are converted into QR codes specific to each Venue ordering point (for example, the QR code specific to each table/seat that a patron can order from).
The Order location specified will appear in Swiftpos throughout the ordering process. That is, at the Touch terminal, on Kitchen dockets, on Kitchen Video Screens and in the Back Office on Receipts.
When operating a pickup style food service, for example, in Bistros, Stadiums and or Arenas, the use of Order locations (using Location Suffixes) is not applicable.
Creating QR Codes ▲ ▼
Venues wishing to create and print their own QR codes, there are several websites available to do this. Swiftpos uses QR Code Monkey (https://www.qrcode-monkey.com).
QR Code Monkey allows Venues to set the colour of the QR Code and allows the Venue’s logo to be added in the centre of the QR code. To customise the QR code in QR code Monkey, the following is required:
- Foreground Colour
- Background Colour
- Venue Logo on white background (JPG recommended)
Below are some examples of QR codes embedded into designs suitable for use at Venues.
Brandings ▲ ▼
Swiftpos Orderaway has a new User Interface (UI) option that has been designed to give Venues a more themed offering delivering an enhanced ordering experience for patrons.
The use of the hero image on the landing page enhances a Venues brand, capturing the patron’s attention and drawing them into the menu. The presentation of the underlying menu structure allows patrons to easily swipe through a menu without ever having to go back or reload it.
The new UI (V2) option still works on the same Keyboard Layout menu basis as the traditional UI option. A Venue can switch between the two at will and determine which works best for them. It supports the promotion of particular Products very well (such as chef’s specials), by putting those Products on the first keyboard layout of the Main menu which opens automatically on a patron’s initial scan.
There are several elements of the UI that can be customised to the Venue’s requirements.

- Header Background Image
- Branded to the Venue’s needs with either an Image, Logo, or both.
- The image will be centre-cropped as opposed to being resized to fit the mobile phone.
- Format can be PNG or JPG and the standard ratio is 4x3.
- Tools Menu
- Tapping the menu will show the trading hours, privacy policy, and home option.
- In-Venue Location
- The Tools banner will display an order location if there is a location suffix used within the URL for in-Venue ordering.
- Member Sign In
- Selecting the Member icon will direct Members to the login portal page for them to sign in. Once signed in, their first name initial will be displayed in Orderaway indicating that they are signed in. The sign in is persistent through repeated QR Code scans.
- Main Menu
- The main menu is positioned directly underneath the tools banner and can be easily navigated by swiping across left or right. The first menu will be automatically selected, with its Products and sub-menus listed underneath, in this example the menu favourites is highlighted.
- Product Images
- All product images have a ratio of 1x1 irrespective of their display size or their shape set in Orderaway portal.
- Format can be PNG or JPG.
- For best image resolution, images should be no larger than 250x250 pixels or smaller than 50x50 pixels.
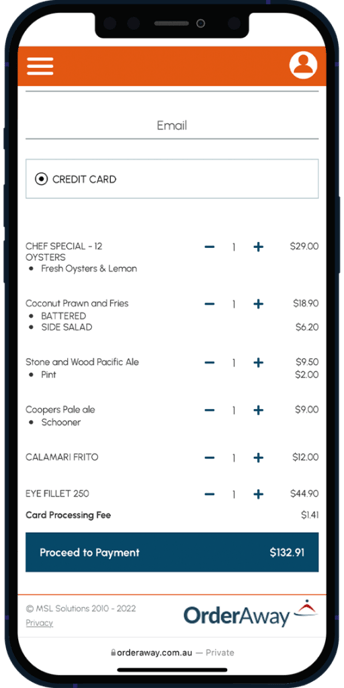
- Review Order/Check out
- Once an item on the menu has been added to the order, the review order footer bar will automatically appear at the bottom of the screen, with the total amount ordered.
- The review bar is fixed to the bottom of the screen and will always be visible for the patron to easily confirm the order
The Enable v2 UI Feature ▲ ▼
Enabling the V2 UI option and customising it is achieved via Orderaway's Appearance tab. Refer HERE for more information.
The screenshot below depicts the customisation options available to Venues so that they can configure their Orderaway UI to suit their requirements.
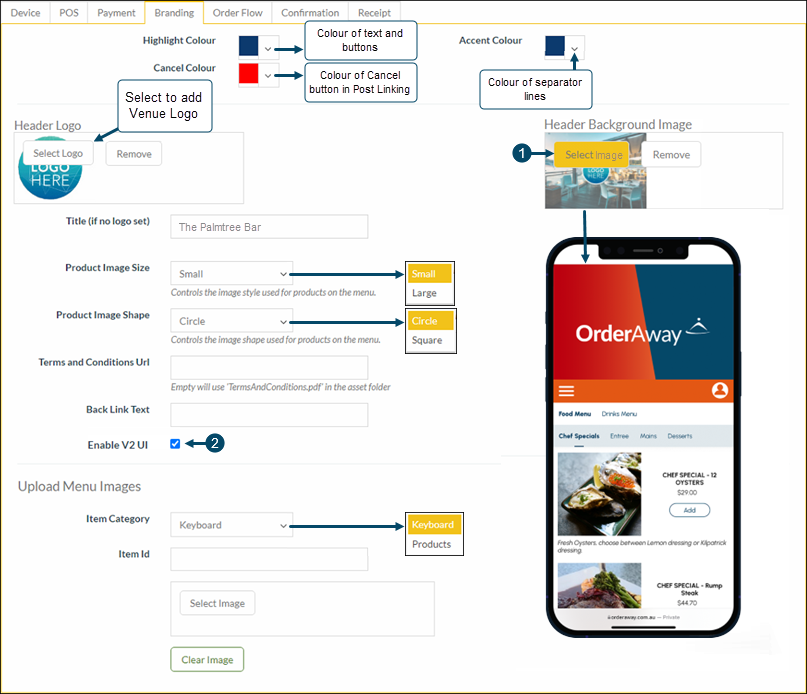
- Header Background Image – Select the Select Image option to upload the image that will be set as the Header Background Image.
- Image will be automatically centred and can be any size.
- Format can be PNG or JPG and the standard ratio is 4x3.
- Enable V2 UI – Select to enable the Enable V2 UI option. Unselected will default to the original Orderaway UI option.
Samples Of The v2 UI Option ▲ ▼
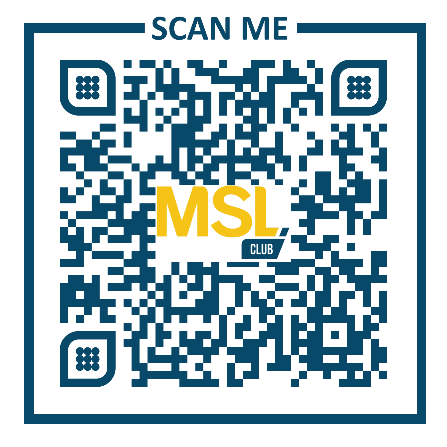
Scan the QR Code above on your smartphone to view the new layout
Menus And Products ▲ ▼
Notes ...
Product images can be set in Swiftpos Back Office against individual Products HERE. Refer HERE for more information.
It is highly recommended to set Product images against the individual Products in Swiftpos Back Office, rather than set them via the Upload Individual Images configuration option. This consolidates images and provides one place to manage/maintain them. However, if Product images are outdated, and/or specific Orderaway images are required, then the Upload Individual Images configuration option is useful. Refer to the Upload Menu Images method below on how this can be achieved. Images uploaded using this method will override images set against Products in the Back Office.
Upload Menu & Product Image ▲ ▼
Refer HERE for more information.
Notes ...
PRIOR TO UPLOADING it is a requirement that Menu and Product images have been created and are in a format that are compliant with the requirements outlined above.
To upload images for Menus, for example an image for the Drinks, Entrees, Mains or Desserts Menus, do as follows:
- Using the Upload Individual Images configuration option, select the Upload Image For Layout option:
- In the Assign image to ID field enter the ID of the Keyboard Layout OR the ID of the Product Family depending on the Menu Mode selected HERE, that is appropriate for the Menu, for example the Drinks Menu.
- Then using the Find Image option, select and locate the appropriate image for the Drinks Menu.
- Repeat the above for each of the Orderaway Menus identified.
To upload images for Products, for example an image for each of the Cocktails available in the Drinks Menu, do as follows:
- If Product images have been set in Swiftpos Back Office against individual Products HERE, then these can be uploaded in bulk using the Images > Upload feature found HERE.
- If specific Orderaway Product images are required, then these can be uploaded using the Upload Individual Images configuration option, select the Upload Image For Product option:
- In the Assign image to ID field enter the PLU of Product that is appropriate for the Product, for example one of the Cocktails.
- Then using the Find Image option, select and locate the appropriate image for the Product (eg. Cocktail).
- Select Save to ensure the changes made are saved.
- Repeat the above for each of the Product requiring Orderaway specific images.
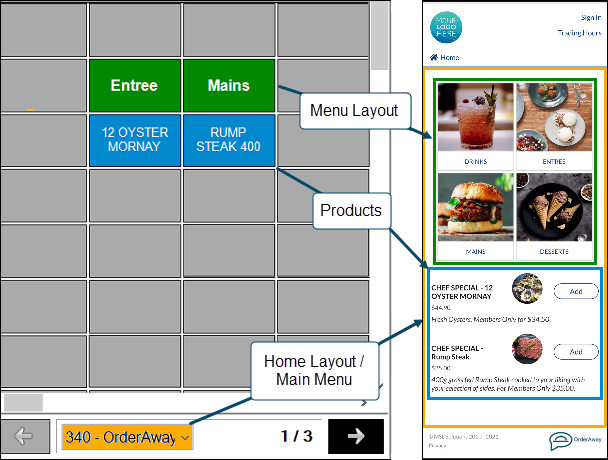
Example of how Menu and Product images will appear to the patrons using the Orderaway Menus
In the example above, the Mains Menu has a Layout ID of 340 (in green). Select the Upload Image For Layout option and enter 340 in the Assign image to ID field and then using the Find Image option, select and locate the required image, for example the image of the Hamburger.
Also, in the example above, Product Oyster Mornay has a PLU of 4224 (in blue). Select the Upload Image For Product option and enter 4224 in the Assign image to ID field and then using the Find Image option, select and locate the required image, for example the image of the Oyster Mornay.
Upload all Menu and Product images as required.
Member Login Portal Appearance ▲ ▼
For Members to reap the benefits of Member pricing and the Loyalty Points rewards, Orderaway requires Members to login using a secure Login portal (a separate secure webpage) that connects to Swiftpos and validates the Member’s credentials. Once logged in, Members are automatically redirected to the Orderaway platform where they can receive Member pricing, as well as earn and redeem Loyalty Points. Refer HERE for more information.
Appearance
Orderaway allows Venues to customise and brand their Members Login portal by uploading a logo, a background image and customising the welcome text.
Customising is achieved via Venue Manager. Refer HERE for more information. Once accessed do as follows:
- Enter/Select the Orderaway Cloud Client from the drop-down list.
- Select the Login > Settings option.
- Select the Layout tab.

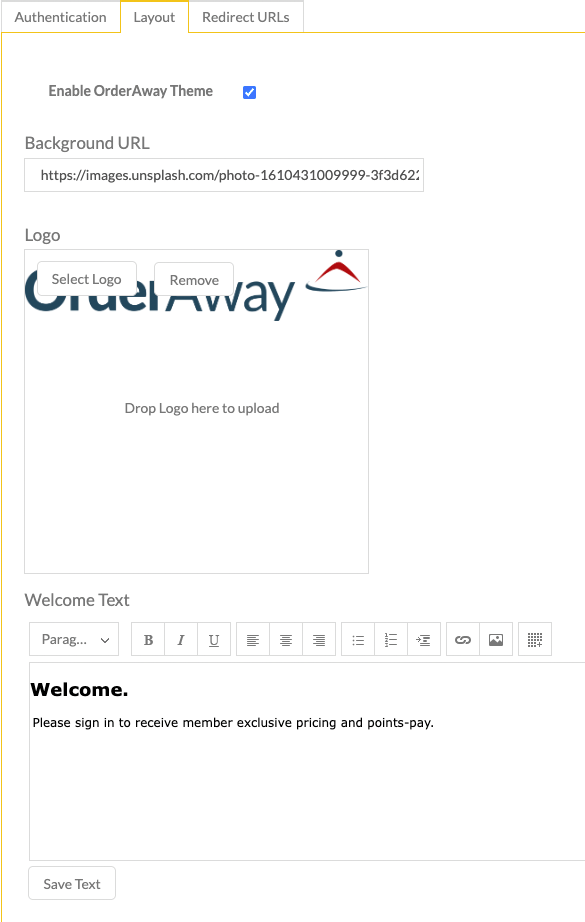
- Enable Orderaway Theme – Select to enable and thus to use the colours configured HERE.
- Background URL – Venues can enhance their Login portal by selecting a background URL using an online image. Simply enter the URL and the Login portal will automatically resize it to fit screen it is being displayed on, for example a mobile phone, tablet, etc.
- Logo – Upload the Venue’s logo or image to appear at the top of the Login portal.
- Welcome Text – Displays/Enter the welcome text Members will see when logging in.
End of article ▲