
This outlines the How To Link A Table To A TAB using the Table Info (#44) POS Key.
Subjects ▲ ▼
About ▲ ▼
When Is It Used? ▲ ▼
Often used when a party of patrons celebrating at a Venue, move from the bar to the restaurant and back to the bar again, with the requirement that their bill will be paid for in one go at the end of their celebrations.
How To Link A Table To A TAB? ▲ ▼
In Touch, do as follows:
- Open a TAB. Refer HERE for more information.
- Open a Table. Refer HERE for more information.
- When the Table Information screen is displayed:
- Enter the necessary Table details.
- Select the Select TAB option to open the Open TABs for All Clerks screen.
- Locate and select the TAB that was opened above.
- When the Table Information screen is displayed:
- The Table will now be linked to the TAB.
- When it comes to finalising the Table, the Clerk/Staff Member will need to ensure the Table is opened in Touch and then select the Finalise To TAB (#45) POS Key.
- A prompt similar to the following one will be displayed:
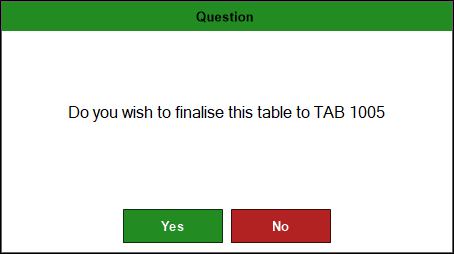
- Select Yes to ensure the Table's bill is moved to the linked TAB.
End of article ▲