This outlines the How To Register An Account in Cloud Back Office.
Subjects ▲ ▼
About ▲ ▼
What Is Required? ▲ ▼
- Review About and ensure the steps outlined HERE are addressed.
- The Clerks/Staff that will be accessing Cloud Back Office will need to comply with the following:
- Have a Clerk Record in Swiftpos Back Office. with the following attributes:
- A valid and unique Email address, which they will need to be able to access.
- Have the Back Office option enabled.
- Have a PIN set.
- Be assigned to the appropriate Clerk Group to be able to have access to the Location Groups (Venues) for which they require access to.
- Have a Clerk Record in Swiftpos Back Office. with the following attributes:
When Is It Used? ▲ ▼
Used when a Clerk/Staff Member wants to gain access to Swiftpos Cloud Back Office.
How To? ▲ ▼
How To Register An Account? ▲ ▼
- Access Cloud Back Office to display the Cloud Back Office Sign In screen to sign in. Refer HERE for more information.
- Select the Register Account option to display the User Registration screen.
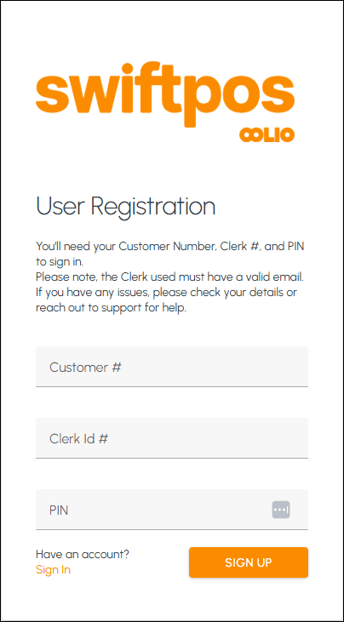
- Enter the Customer Number assigned to the Venue's Swiftpos registration, in the Customer # field.
- Enter the Clerk's/Staff Member's ID in the Clerk Id # field.
- Enter the Clerk's/Staff Member's PIN in the PIN field.
- Select the SIGN UP option.
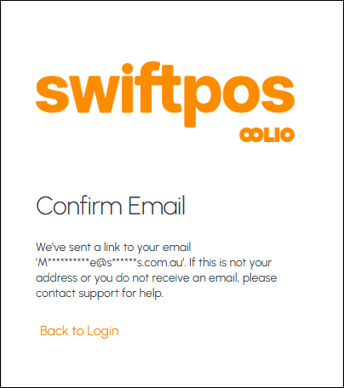
- Once the account has been created, a confirmation email will be sent to the CLerk's/Staff Member's email address and a confirmation prompt similar to the one below will be displayed:
- Open the email and click on the Complete Registration link to display the Complete Registration screen:
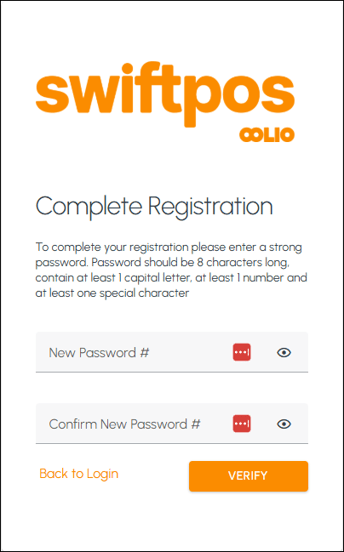
- Enter a Password in the New Password # field.
- Re-enter the same Password in the Confirm New Password # field.
- Select the Verify option to verify and complete the registration. Once the account has been registered, a confirmation prompt will be displayed similar to the one below will be displayed:
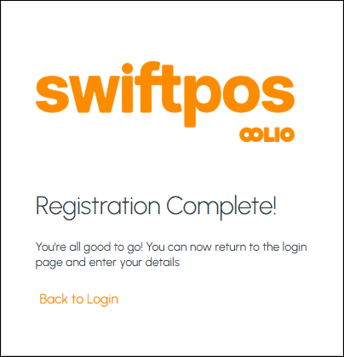
- Select the Back to Login prompt to display the Cloud Back Office Sign In screen to sign in. Refer HERE for more information.
End of article ▲