This provides an overview of the History Gift Card (#243) POS Key used in conjunction with 3rd Party Gift Card providers.
Subjects ▼
What Is It Used For? ▲ ▼
This can be used for viewing the all the transactions that are related to a selected 3rd Party Gift Card.
Refer to the How To View 3rd Party Gift Card Transactions for more information.
What Is Supported? ▲ ▼
This function POS Key can be used in conjunction with the following 3rd Party Interfaces:
- VII
To Be Considered ▲ ▼
- If required, access to this POS Key can be restricted by the Clerk Security feature.
What Is Required? ▲ ▼
- Venues will need a NetPOS registration and the NetPOS settings will need to be configured for the appropriate 3rd Party Gift Card interface in order to use this function.
- Ensure this POS Key is added to the appropriate Keyboard Layout using the Designer. Refer to How To Add A POS Key To A Keyboard Layout for more information.
- Ensure it is configured as required. Refer to the Settings below.
Settings ▲ ▼
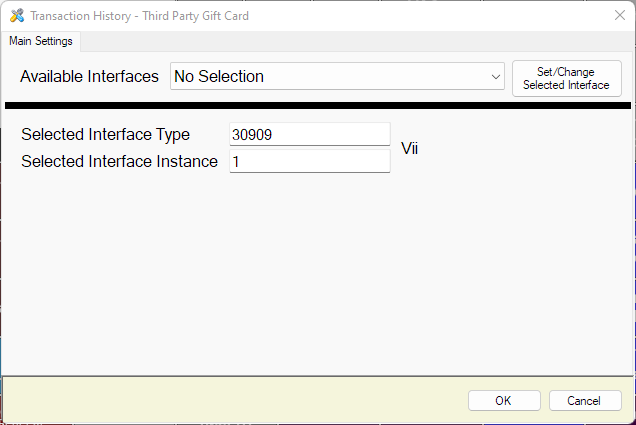
This screen is accessed by selecting the More Settings button in Keyboard Designer.
- Available Interfaces - Select from the drop down list the required Interface.
Notes...
If no interface is selected, the default used will be the interface which is set as default in NetPOS.Net.
- Set/Change Selected Interface - Select to select the interface selected above and set the Selected Interface Type and Instance values.
End of article. ▲