
To access, select anyone of the Tables displayed on the Floor Plan in Touch when the Floor Plan Display (#402) POS Key is selected. Used to manage/view a Table.
Sections ▲ ▼
Booking Info Section ▲ ▼
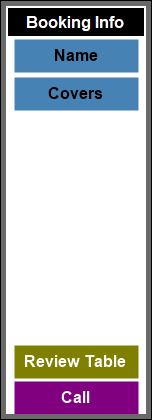
- Name - Select to display the Table Information screen to change/edit details relating to the Table.
- Covers - Select to display the Table Information screen to change/edit details relating to the Table.
- Review Table - Select to open the Table Review screen to review the selected Table.
- Call - Select to make use of the Call Away feature.
Details Section ▲ ▼
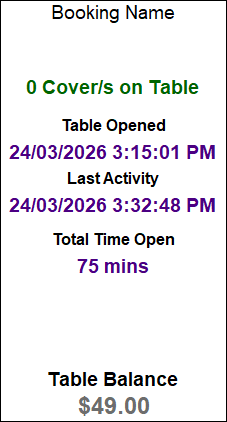
Displays the selected Table's information.
Table Options Section ▲ ▼
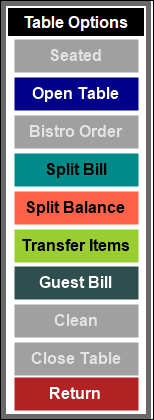
- Seated - Select to change the Table status to seated.
- Open Table - Select to exit the Floor Plan layout and return to Touch with the Table opened in the sales grid.
- Bistro Order - Select to add an order to a Bistro Table.
- Split Bill - Select to open the Split Bill screen.
- Split Balance - Select to split the remaining balance of a Table. This will prompt the entry of number, indicating the how many ways the balance is to be split.
- Transfer Items - Select to display the Transfer Items screen to Transfer Items to another Table.
- Guest Bill - Select to print a receipt for the selected Table. The status of the Table will change to Printed.
- Clean - Select to flag the table as requiring cleaning.
- Close Table - Select to close a Bistro Table making it available for reuse. To close a Table select the Open Table option and then finalise it.
- Return - Select to exit and return to the Floor Plan layout.
End of article ▲