Finalise To A TAB
Touch - How To
This outlines the How To Finalise To A TAB using the Finalise To TAB (#45) POS Key.
How To? ▲ ▼
How To Finalise An Order/Sale/Table To A TAB? ▲ ▼
- In Touch, add items to an order/sale, or open an existing Table.
- Select the Finalise To TAB (#45) POS Key to open the Open TABs for All Clerks screen.
- Select a TAB listed in the grid to add the order/sale/Table items to that TAB.
OR
- Select the Add New TAB option to add the order/sale/Table to a new TAB.
- At the following prompt, enter the number for the new TAB.

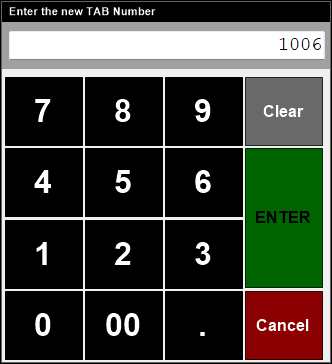
- Select Enter to continue.
- The TAB Information screen will be displayed to allow the Clerk/Staff Member to enter TAB related details.
- Select SAVE to save the entered details.
- The new TAB will be created with the order/sale/Table items.
- At the following prompt, enter the number for the new TAB.
How To Finalise Tables To A TAB? ▲ ▼
- In Touch, ensure there are open Tables.
- Select the Finalise To TAB (#45) POS Key to open the Finalise To TAB screen.
- Select one or more Tables from the Tables section and
- A TAB listed in the TAB section to add the selected Tables to the TAB.
OR - An empty TAB in the TAB section to add the selected Tables to a new TAB. The following prompt will be displayed:

- Confirm by selecting either Yes or No.
- If Yes is selected, then the TAB Information screen will be displayed to allow the Clerk/Staff Member to enter TAB related details.
- Select SAVE to save the entered details.
- The new TAB will now be displayed in the TAB section with a Subtotal.
- Select OK.
- A TAB listed in the TAB section to add the selected Tables to the TAB.
- The following prompt will be displayed:

- Confirm by selecting either Yes or No.
- If Yes is selected, the new TAB will be created with the items from the selected Tables.
End of article ▲