IMPORTANT
Touchmini v1 has reached it's end of life and will NO LONGER be enhanced/improved. It is now superseded by Touchmini v2.
This outlines How To Register A Device using TouchMini.
Subjects ▼
How To Register A Device? ▲ ▼
To register a device, open a supported browser on the device and then enter one of the following URLs depending on the Venue's location:
Once entered, a license check will be done to determine whether the device/browser combination is already registered.
- If it is already registered, the Clerk/Staff Member will be presented with the Home menu. No further action is required regarding the registering of the device.
- If it's not registered, the following prompt will be displayed:
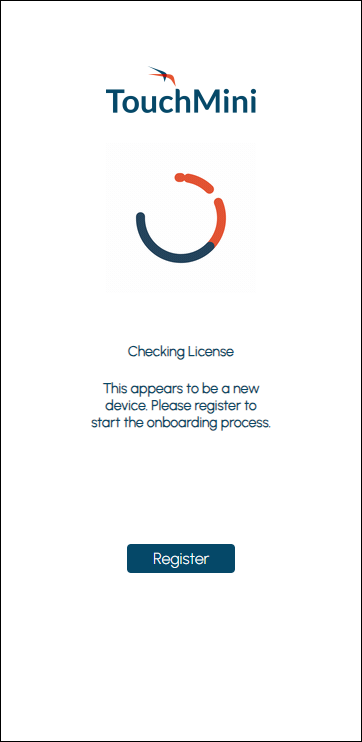
- Select the Register button. The following screen will be displayed:
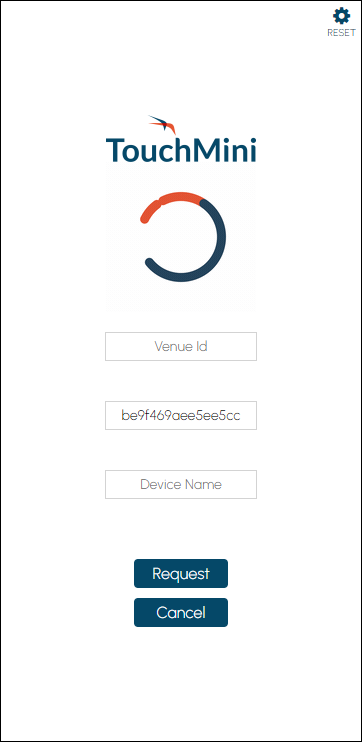
- Enter the Cloud Client ID of the swiftpos Location to which the TouchMini device will be registered to, in the Venue Id field.
- The code displayed in the second field will be the unique ID assigned to the device and will be displayed in the Settings screen.
- In the Device Name field, enter an appropriate name for the device.
- Select the Request button. The following screen will be displayed:
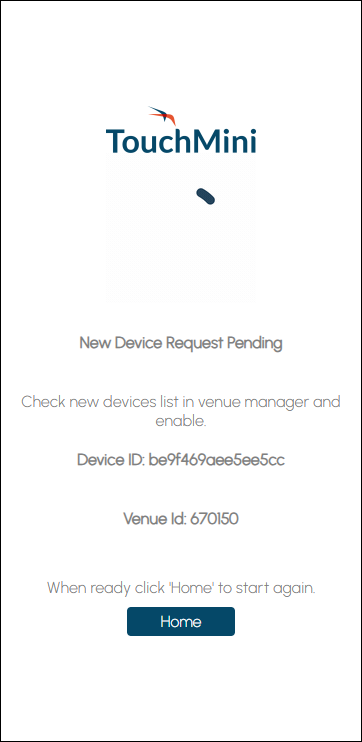
- Before selecting the Home button, ensure the device is enabled and configured first. Refer to How To Enable A Device and How To Configure A Device for more information.
- Once enabled and configured, select the Home button on the device. The Layout configured in the POS tab should now be displayed.
- The device should now be available to operate. Refer to How To Use TouchMini For The First Time for more information.
Once registered, it's recommended to add the TouchMini URL as an App icon to the device's home screen for quick access. Refer to How To Add The TouchMini URL As An App Icon for more information.
What Is Supported? ▲ ▼
- Refer HERE for the types of devices that can be registered and supported in TouchMini.
End of article. ▲