
This outlines how to signup for a 30 day free trial in XERO to support the testing of either the Swiftpos XERO Basic or XERO Advanced interface.
Subjects ▲ ▼
When Is It Used? ▲ ▼
This is generally used by either the XERO Basic or XERO Advanced interface in Back Office, when:
- A Venue wants to test either the Swiftpos XERO Basic or XERO Advanced interface prior to making a commitment to implement XERO for the first time.
How To Signup For A 30 Day Free Trial In XERO? ▲ ▼
Do as follows:
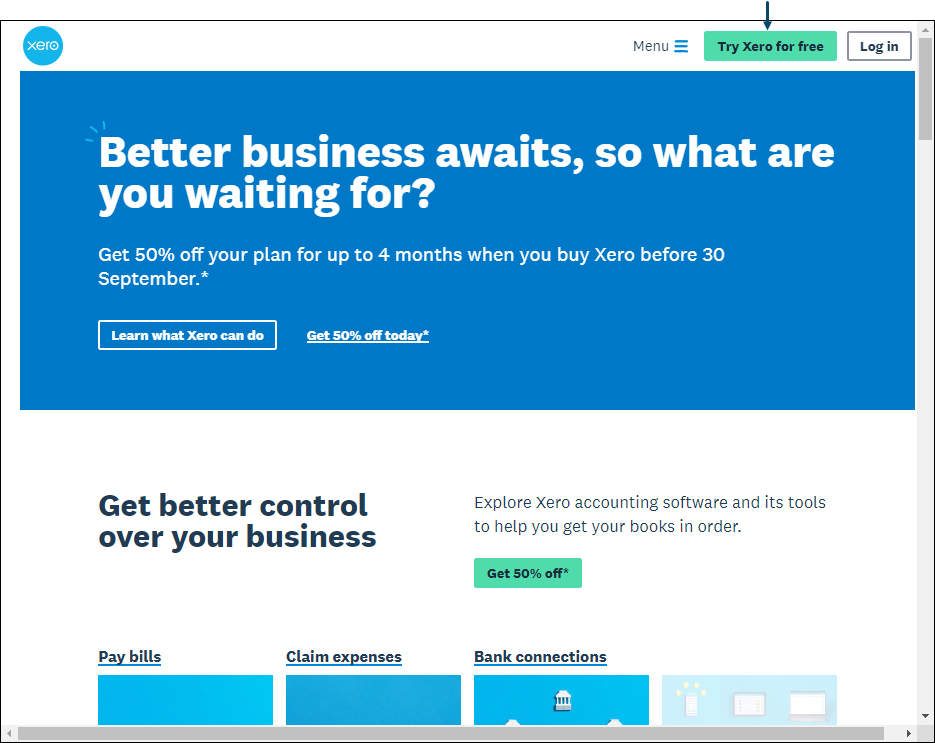
- From the XERO website, select the Try Xero for free button.
- Enter your name and email address and any other information required.
- Verify the email address entered by responding to the verification email sent to the email address you entered.
- Activate your account.
- Once activated, the following Add your business screen should be displayed, inviting you to complete and start your trial of XERO.
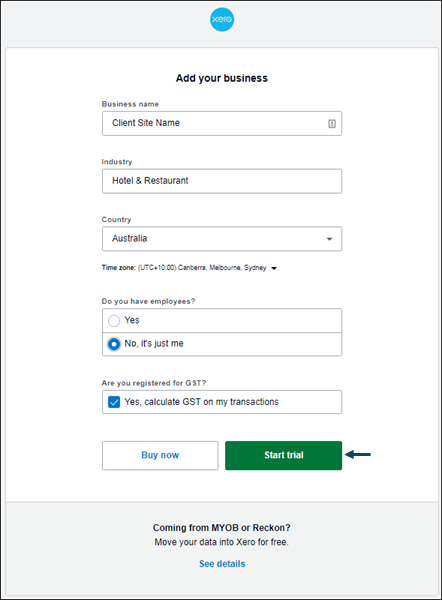
- Once filled out, select the Start Trial button.
- The XERO Dashboard should now be displayed, with the name of the XERO Organisation just created, displayed in the top left corner.
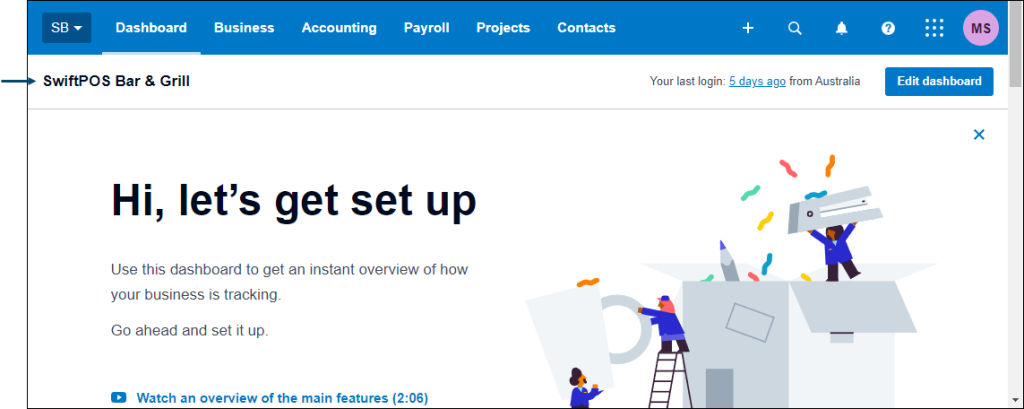
- You can now start using XERO.
End of article ▲